Quickstart
In this quickstart guide, you'll learn how to get started and create your
first Batch Change in a few minutes. Here, you'll create a Sourcegraph batch
change that appends text to README files in all of your repositories.
Requirements
- A Sourcegraph instance with some repositories in it
- A local environment matching requirements to create batch changes with the Sourcegraph CLI.
Install the Sourcegraph CLI
To create Batch Changes, first install the Sourcegraph CLI (src).
Next, install the version of src that is compatible with your Sourcegraph instance. To do so, run the following commands in your terminal:
For macOS
BASHcurl -L https://<YOUR-SOURCEGRAPH-INSTANCE-URL>/.api/src-cli/src_darwin_amd64 -o /usr/local/bin/src
chmod +x /usr/local/bin/src
For Linux
BASHcurl -L https://<YOUR-SOURCEGRAPH-INSTANCE-URL>/.api/src-cli/src_linux_amd64 -o /usr/local/bin/src
chmod +x /usr/local/bin/src
Authenticate src with your Sourcegraph instance by following the CLI quickstart and you'll be ready for the next step.
Write a batch spec
A batch spec is a YAML file that defines a batch change. It specifies which changes should be made in which repositories. See the batch spec YAML reference for details.
Save the following batch spec as hello-world.batch.yaml:
YAMLversion: 2
name: hello-world
description: Add Hello World to READMEs

# Find all repositories that contain a README file.
on:
    - repositoriesMatchingQuery: file:README

# In each repository, run this command. Each repository's resulting diff is captured.
steps:
    - run: IFS=$'\n'; echo Hello World | tee -a $(find -name README)
      container: alpine:3

# Describe the changeset (e.g., GitHub pull request) you want for each repository.
changesetTemplate:
    title: Hello World
    body: My first batch change!
    branch: hello-world # Push the commit to this branch.
    commit:
        message: Append Hello World to all README files
The commits you create here will use the git config values for user.name and user.email from your local environment or [email protected] if no user is set. Alternatively, you can also specify an author in this spec.
Create the batch change
Let's see what changes will be made. Until now, no commits, branches, or changesets will be published (i.e., the repositories on your code host will be untouched).
In your terminal, run the following command:
BASHsrc batch preview -f hello-world.batch.yaml
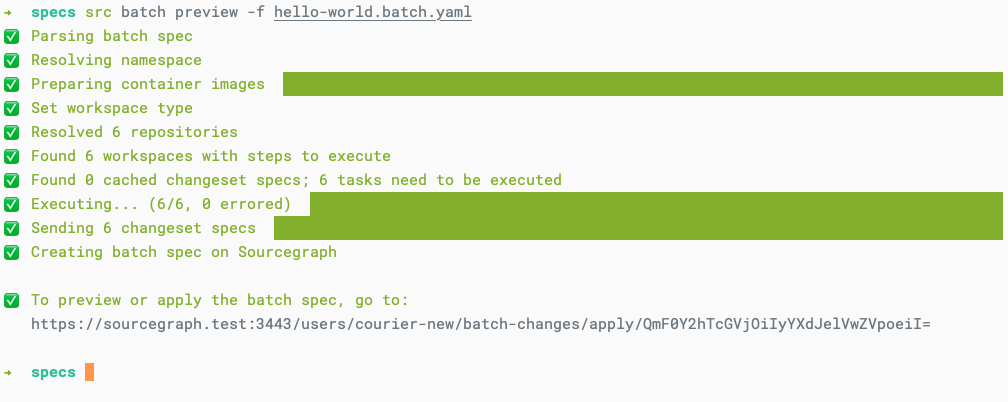
Wait for it to run and compute the changes for each repository.
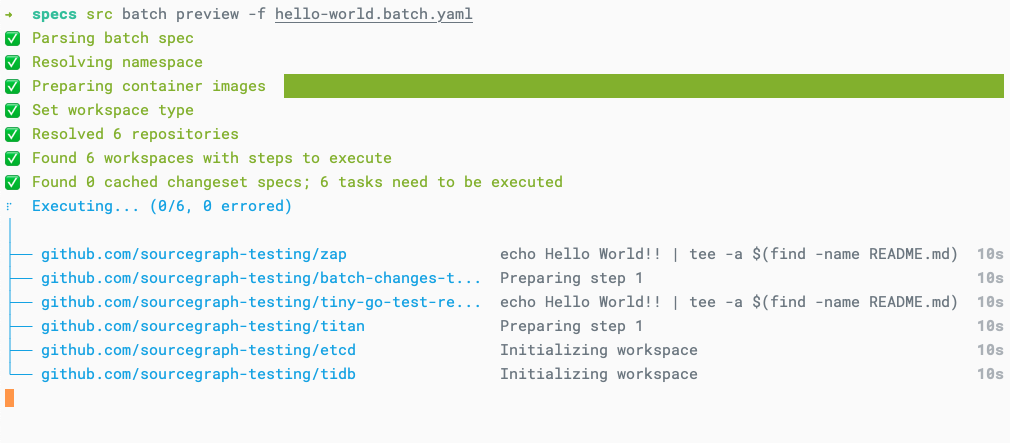
When it's done, follow the link to the preview page to see all the changes that will be made.
Make sure the changes look right.
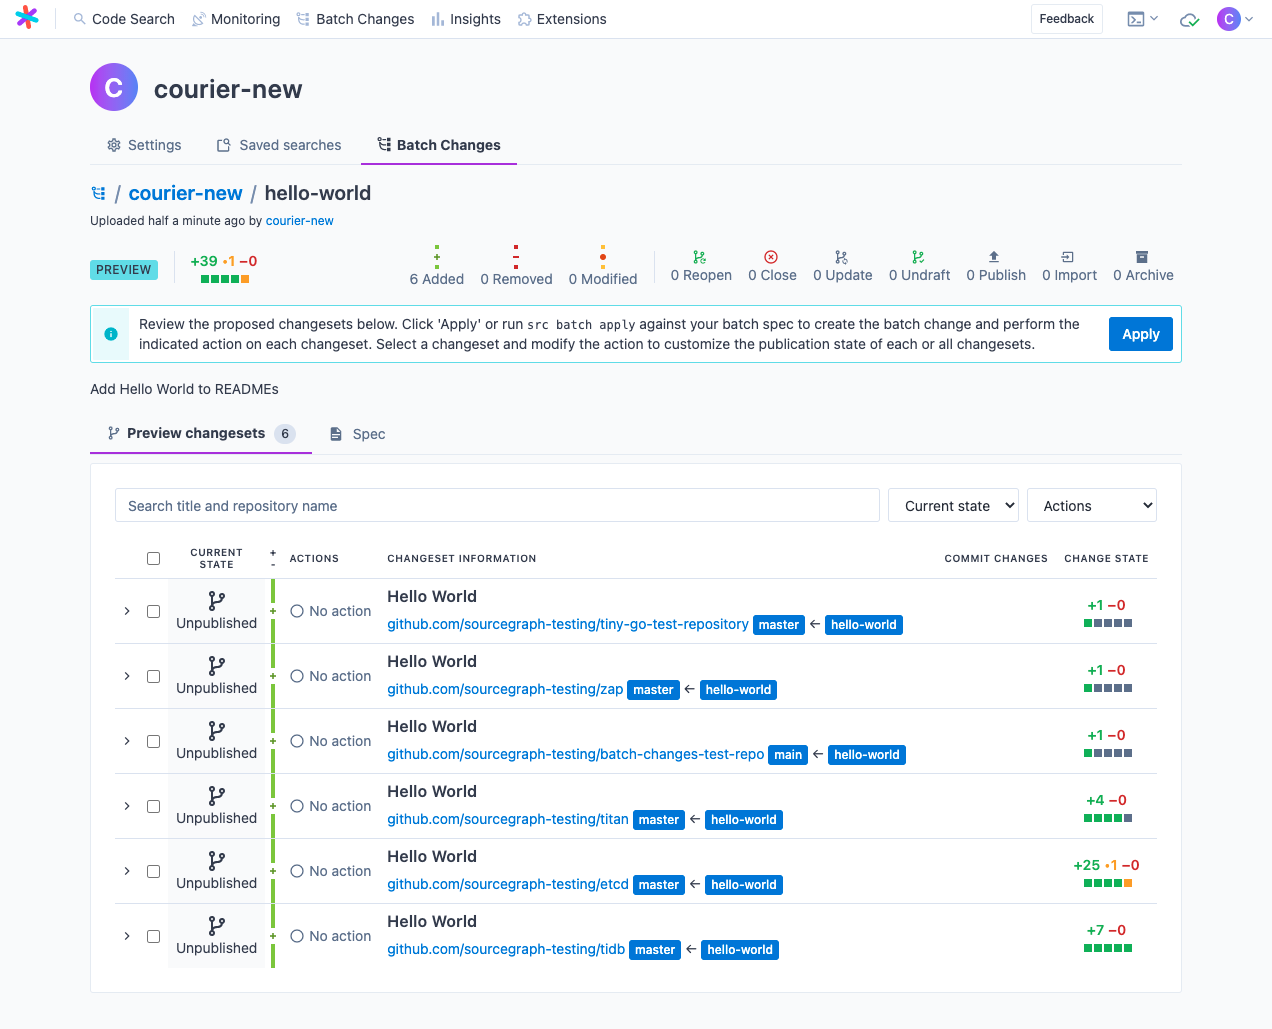
Click Apply to create the batch change. You should see something like this:
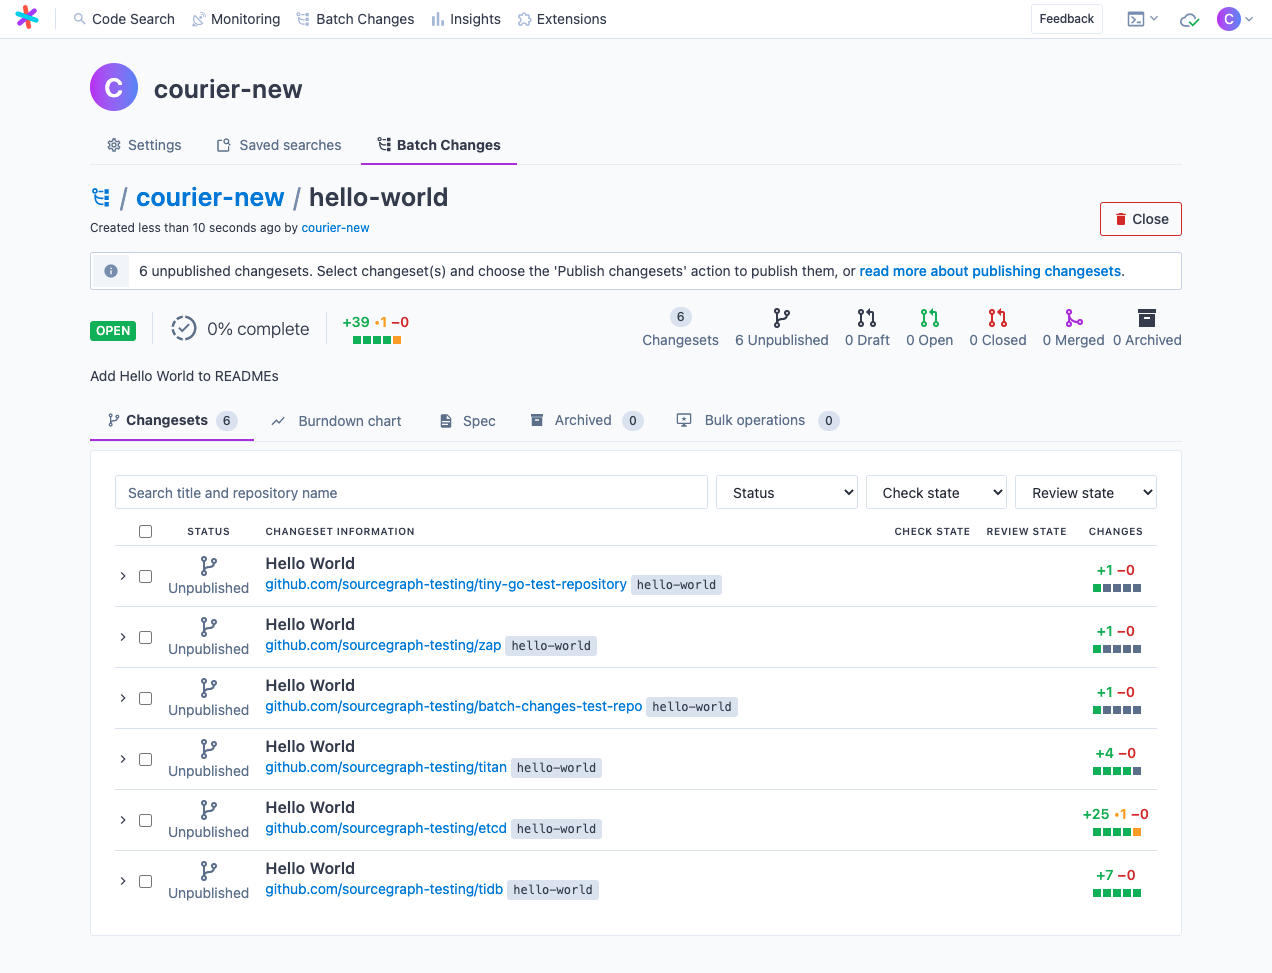
You've created your first Batch Change! 🎉
The batch change's changesets still need to be published, which means they exist only on Sourcegraph and have yet to be pushed to your code host. This is for your benefit, as you probably want to refrain from publishing these Hello World changesets to actively developed repositories. In the following steps, we'll prepare to publish a single test changeset.
Publish a changeset
So far, nothing has been created on your code hosts. To do so, you can tell Sourcegraph to either publish or push a changeset.
- Publishing a changeset results in the creation of a merge request on your code host (e.g. a Pull Request on GitHub).
- Pushing a changeset (available on GitHub and GitLab only) results in pushing your code changes to a new branch on your code host without also creating a merge request. You are able to see any CI feedback set to trigger upon code-pushes in the Batch Changs UI.
Configure code host credentials
Batch Changes needs permission to publish changesets on your behalf. To grant permission, you must add a personal access token for each code host on which you publish changesets.
This is a one-time operation and is not required for every batch change. You can also ask the administrators of your Sourcegraph instance to configure global credentials instead.
(Optional) Modify the batch spec to only target a specific repository
Before publishing, you might want to change the repositoriesMatchingQuery in hello-world.batch.yaml to target only a single test repository that you could open a pull request/merge request on, such as one you own. For example:
YAML# Find all repositories that contain a README file and whose name matches our test repo.
on:
    - repositoriesMatchingQuery: file:README repo:sourcegraph-testing/batch-changes-test-repo
With your updated batch spec, re-run the preview command, src batch preview -f hello-world.batch.yaml. Once again, follow the link to the preview page. You should now see something like this:
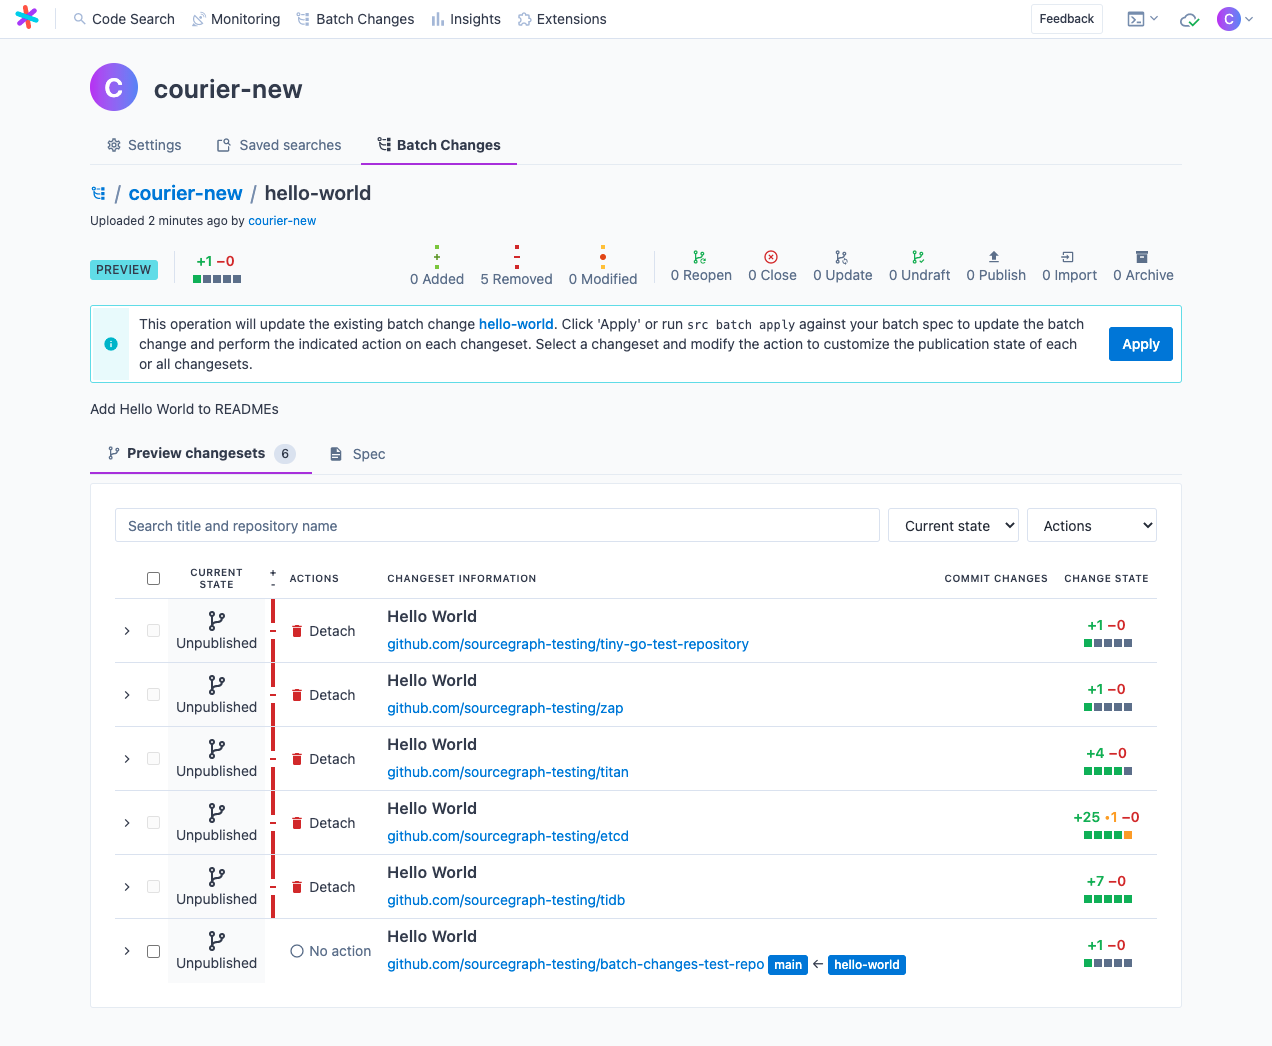
This time, you get a preview before any changes are applied, but now, you are updating your existing changesets. Now, all of the changesets listed will be archived, except for the one you're about to publish. Archiving will close the changesets on the code host, but leave them attached to your batch change for historical referencing.
Once you are ready, click Apply again to apply the update to your batch change.
Publish to code host
There are multiple ways to publish a changeset. Let's look at how to do so from the screen you are currently on.
- Select the changeset you would like to publish (in our case, it's the only one).

- Choose the Publish changesets action from the dropdown.

Click Publish changesets. You'll be prompted to confirm. You can publish your changeset(s) as draft(s) if the code host supports it.

- Click Publish, and wait for an alert to appear (it may take a couple of seconds). Once it's done, the page should update, and you should see something like this:
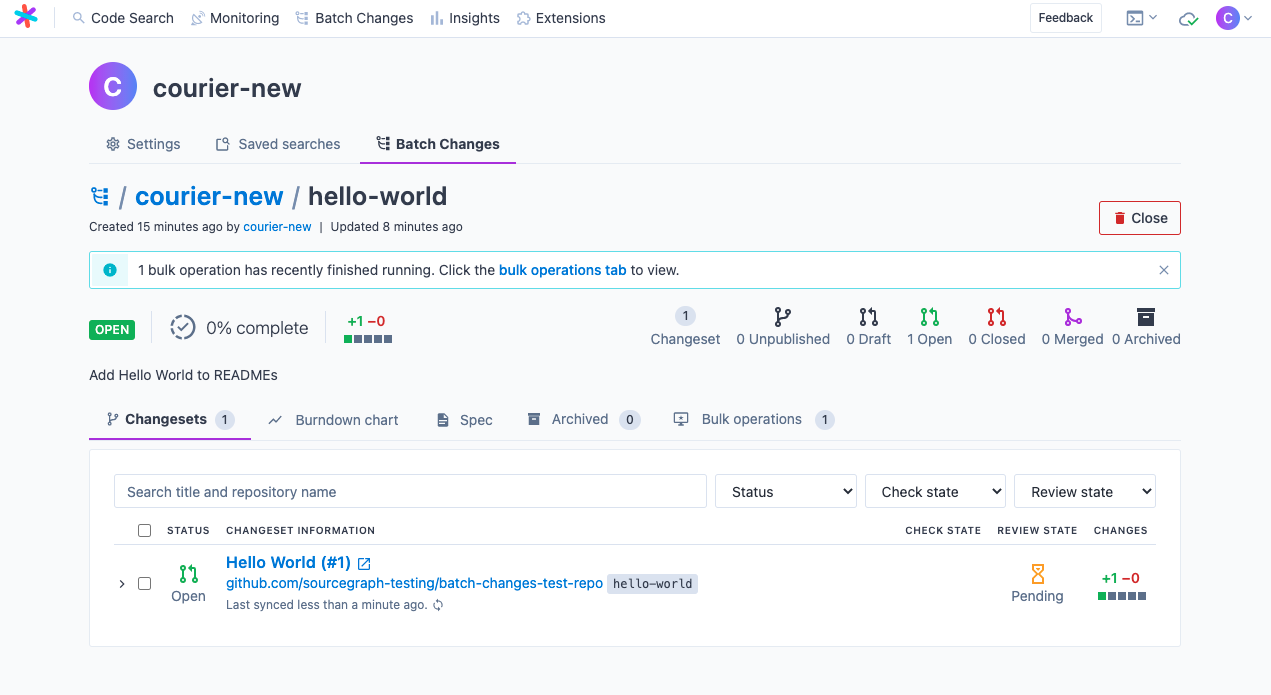
Congratulations! You've published your first Batch Changes changeset! 🎉
Feel free to customize your batch spec and experiment with making other changes. You can also read this section of docs to explore more about Batch Changes.