Enterprise Starter
The Enterprise Starter plan offers a multi-tenant Sourcegraph instance designed for individuals and teams. It provides the core features of a traditional Sourcegraph instance but with a simplified management experience. This plan provides a fully managed version of Sourcegraph through a self-serve flow.
Sourcegraph Enterprise is our recommended experience. Visit Sourcegraph pricing to learn more.
To sign up, visit workspaces.sourcegraph.com.
Enterprise Starter team roles
The Enterprise Starter plan includes the following team-level roles:
- Admin: Has full access to the workspace, including the ability to manage repos, users, billing, and settings
- Member: Can access repositories in the workspace and use the supported features
Billing
Workspaces on the Enterprise Starter plan are billed monthly based on the number of team seats purchased. In case of overdue or failing payment, there is a grace period during which the workspace admins will receive a daily notification to complete the transaction.
If you fail to make the payment after the grace period, your workspace will be deleted, and you will not be able to recover your data.
Features supported
The Enterprise Starter plan supports a variety of search-based features like:
| Code Search | Management | Support |
|---|---|---|
| Indexed Code Search | Simplified admin experience with UI‑based repo‑management | Support with limited SLAs |
| Indexed Symbol Search | User management | - |
| Searched‑based code‑navigation | Code host integrations (GitHub, GitLab.com, Bitbucket Cloud) | - |
Limits
Sourcegraph Enterprise Starter offers the following limits:
- Max 500 users per workspace
- Max 100 repos per workspace
- Starts with 25 GB of storage
- 5 GB storage per seat added
- 50 GB max total storage
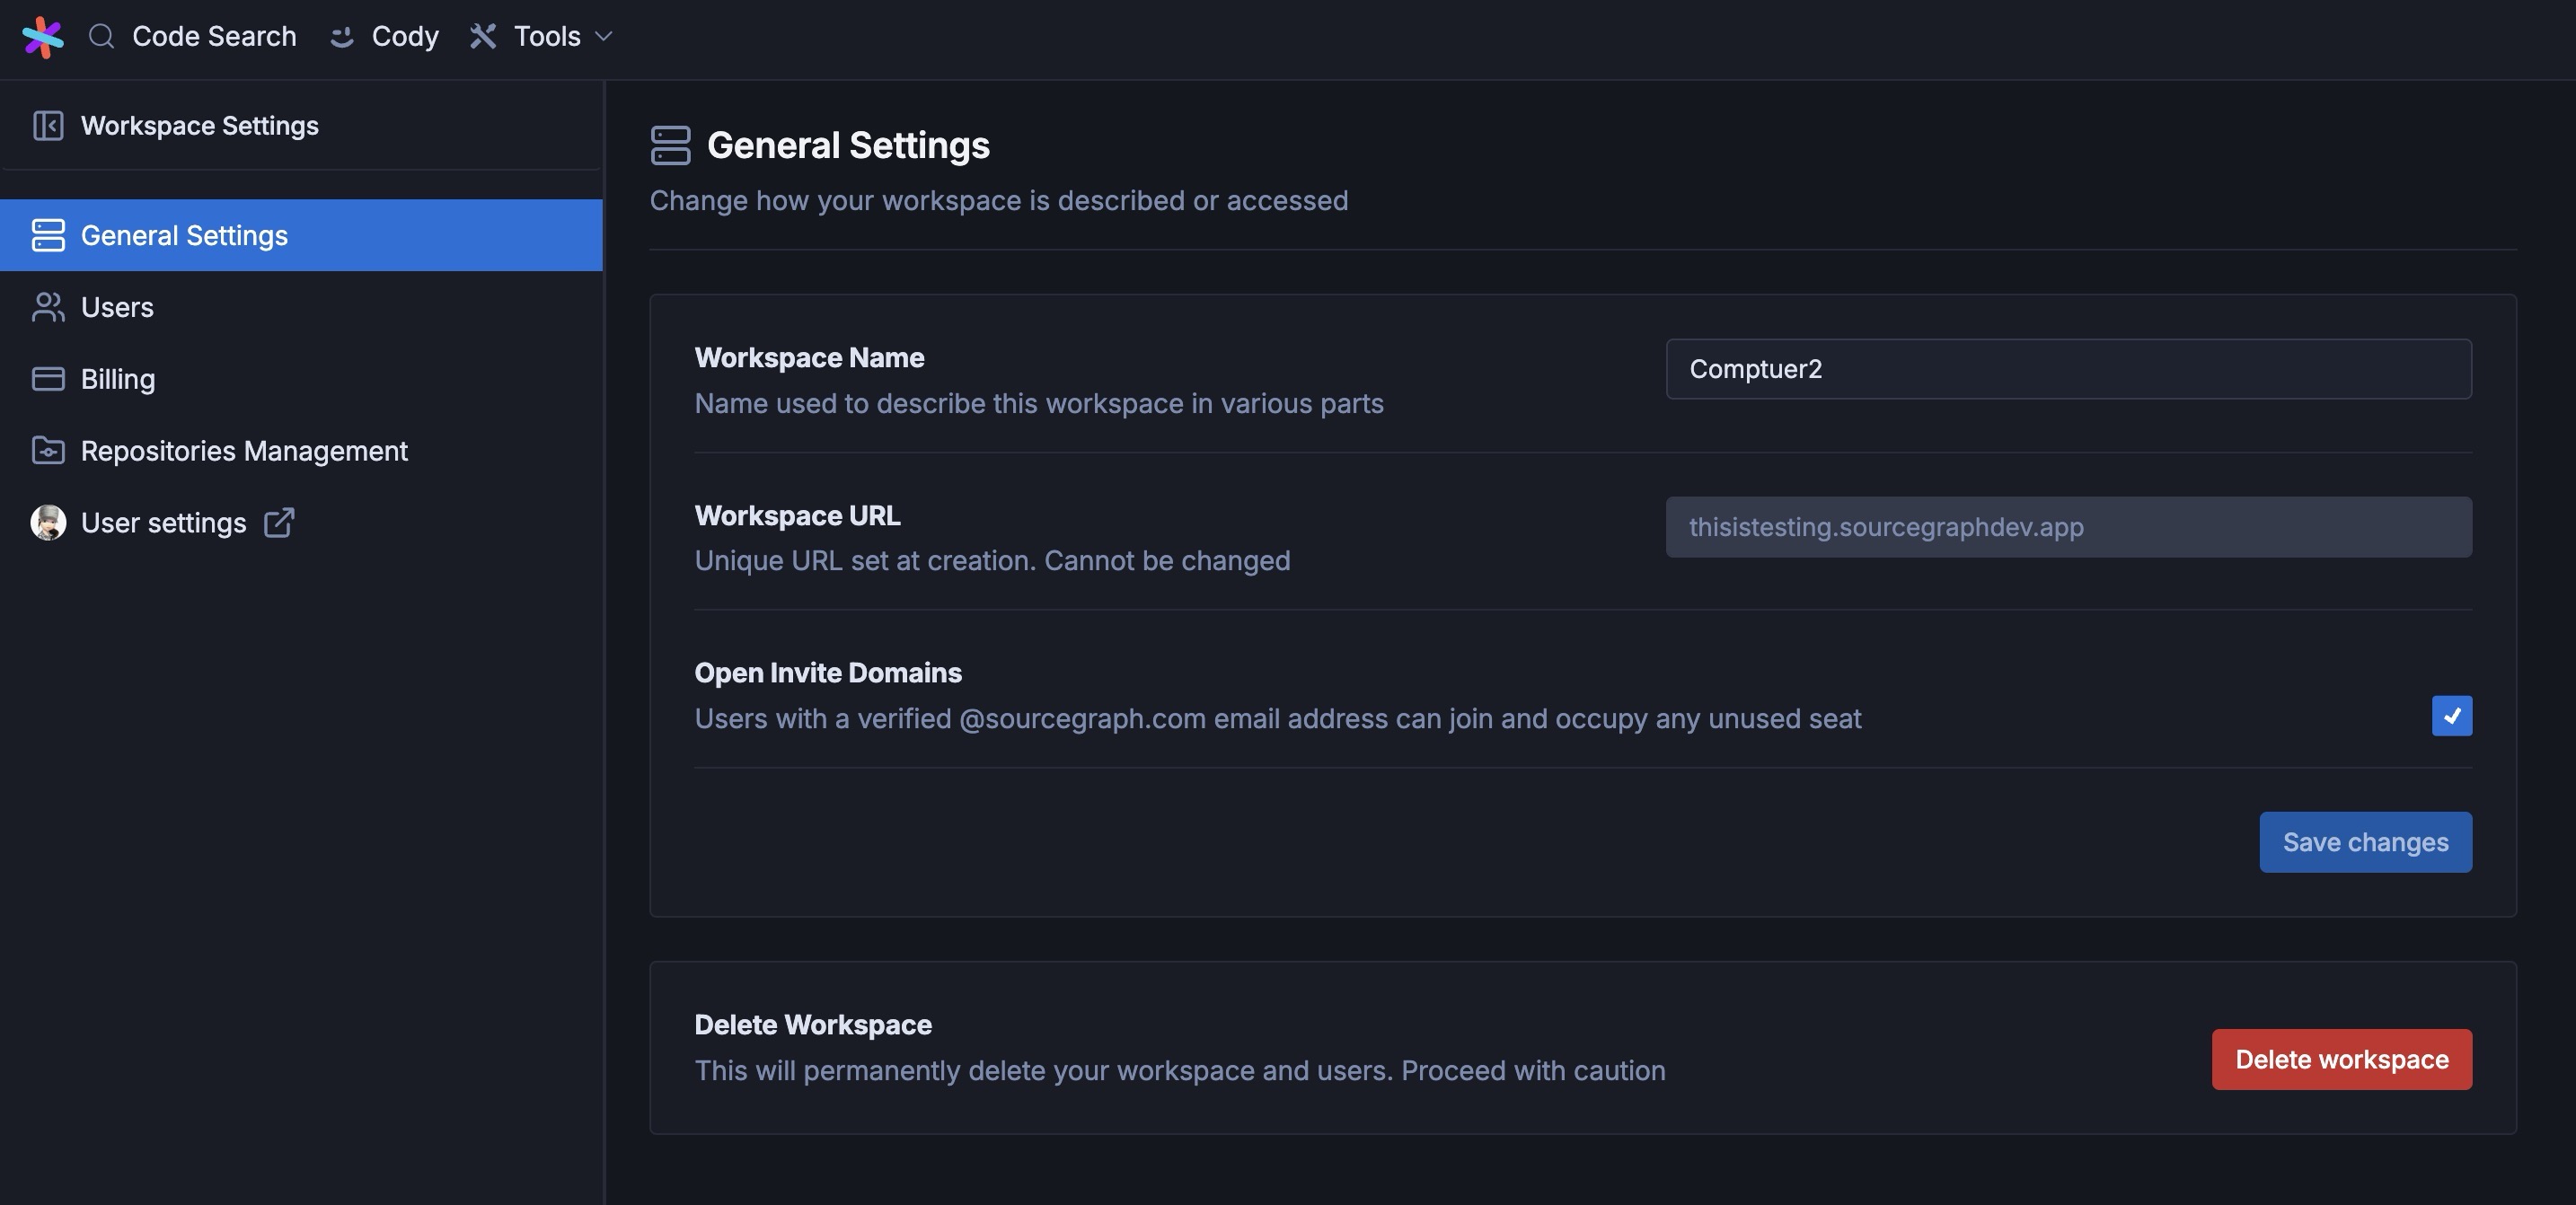
Workspace settings
After creating a new workspace, you can switch views between your personal and workspace accounts. You can configure different Workspace settings. These include options for:
- General Settings: Helps you configure how your workspace is described or accessed with options like workspace name, URL, and deleting the workspace
- Users: Manage permissions, assign seats, or invite new users
- Billing: Manage your monthly billing cycle for all your purchased seats
- Repository Management: Add, remove, and view the status of your connected repositories
- User settings: Navigates you to your personal account's settings
Getting started with workspace
A workspace admin can invite new members to their workspace using their team member's email address. Once the team member accepts the invitation, they will be added to the workspace and assigned the member role.
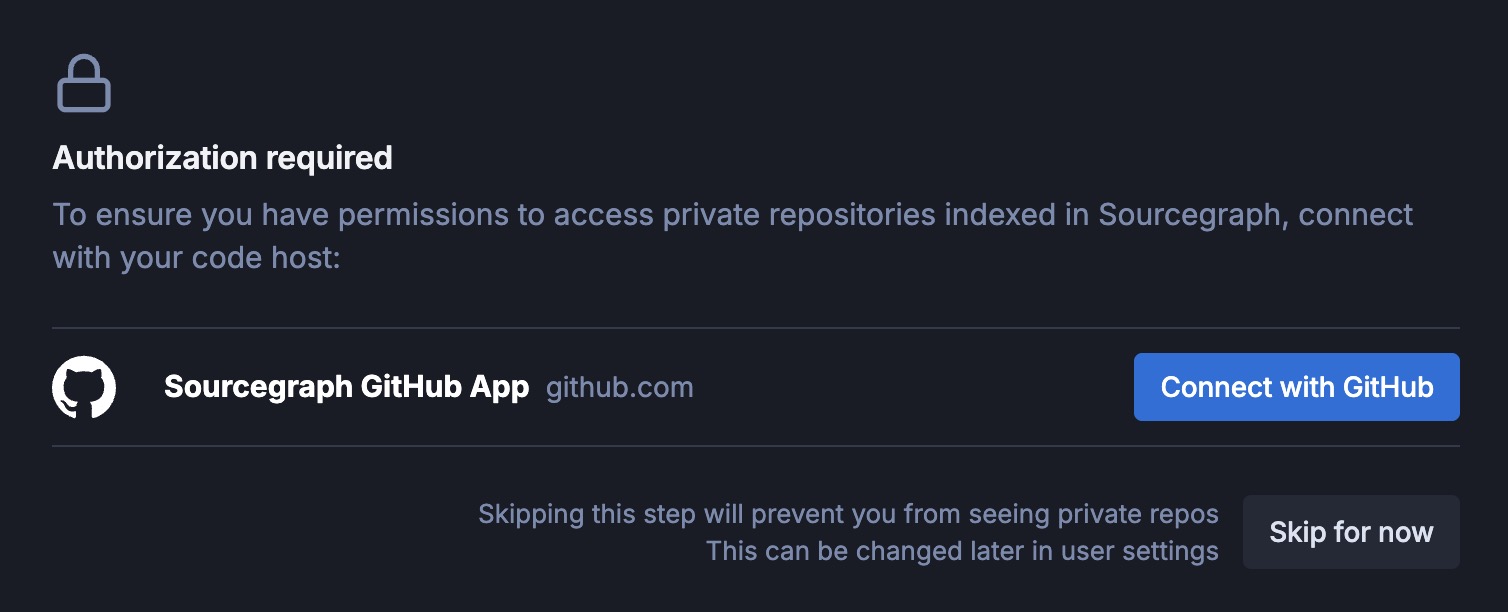
If the workspace includes GitHub repositories, the member will be asked to connect and authorize GitHub to access those private repositories. This authorization step is only required for GitHub repositories. For GitLab.com and Bitbucket Cloud repositories, no additional authorization is needed.
Without GitHub authorization, members cannot access private GitHub repositories but can access all other repositories (GitLab.com, Bitbucket Cloud) and use the public search via the Sourcegraph code search bar.
Repository Management
From the Repository Management settings, workspace admins can configure various settings for connecting code hosts and indexing repositories in their workspace. You can index up to 100 repos per workspace.
Repository permissions:
- GitHub provides repository-level permissions that are reflected in Sourcegraph.
- GitLab.com and Bitbucket Cloud repositories are accessible to all workspace members regardless of the member's permissions on the external code host.
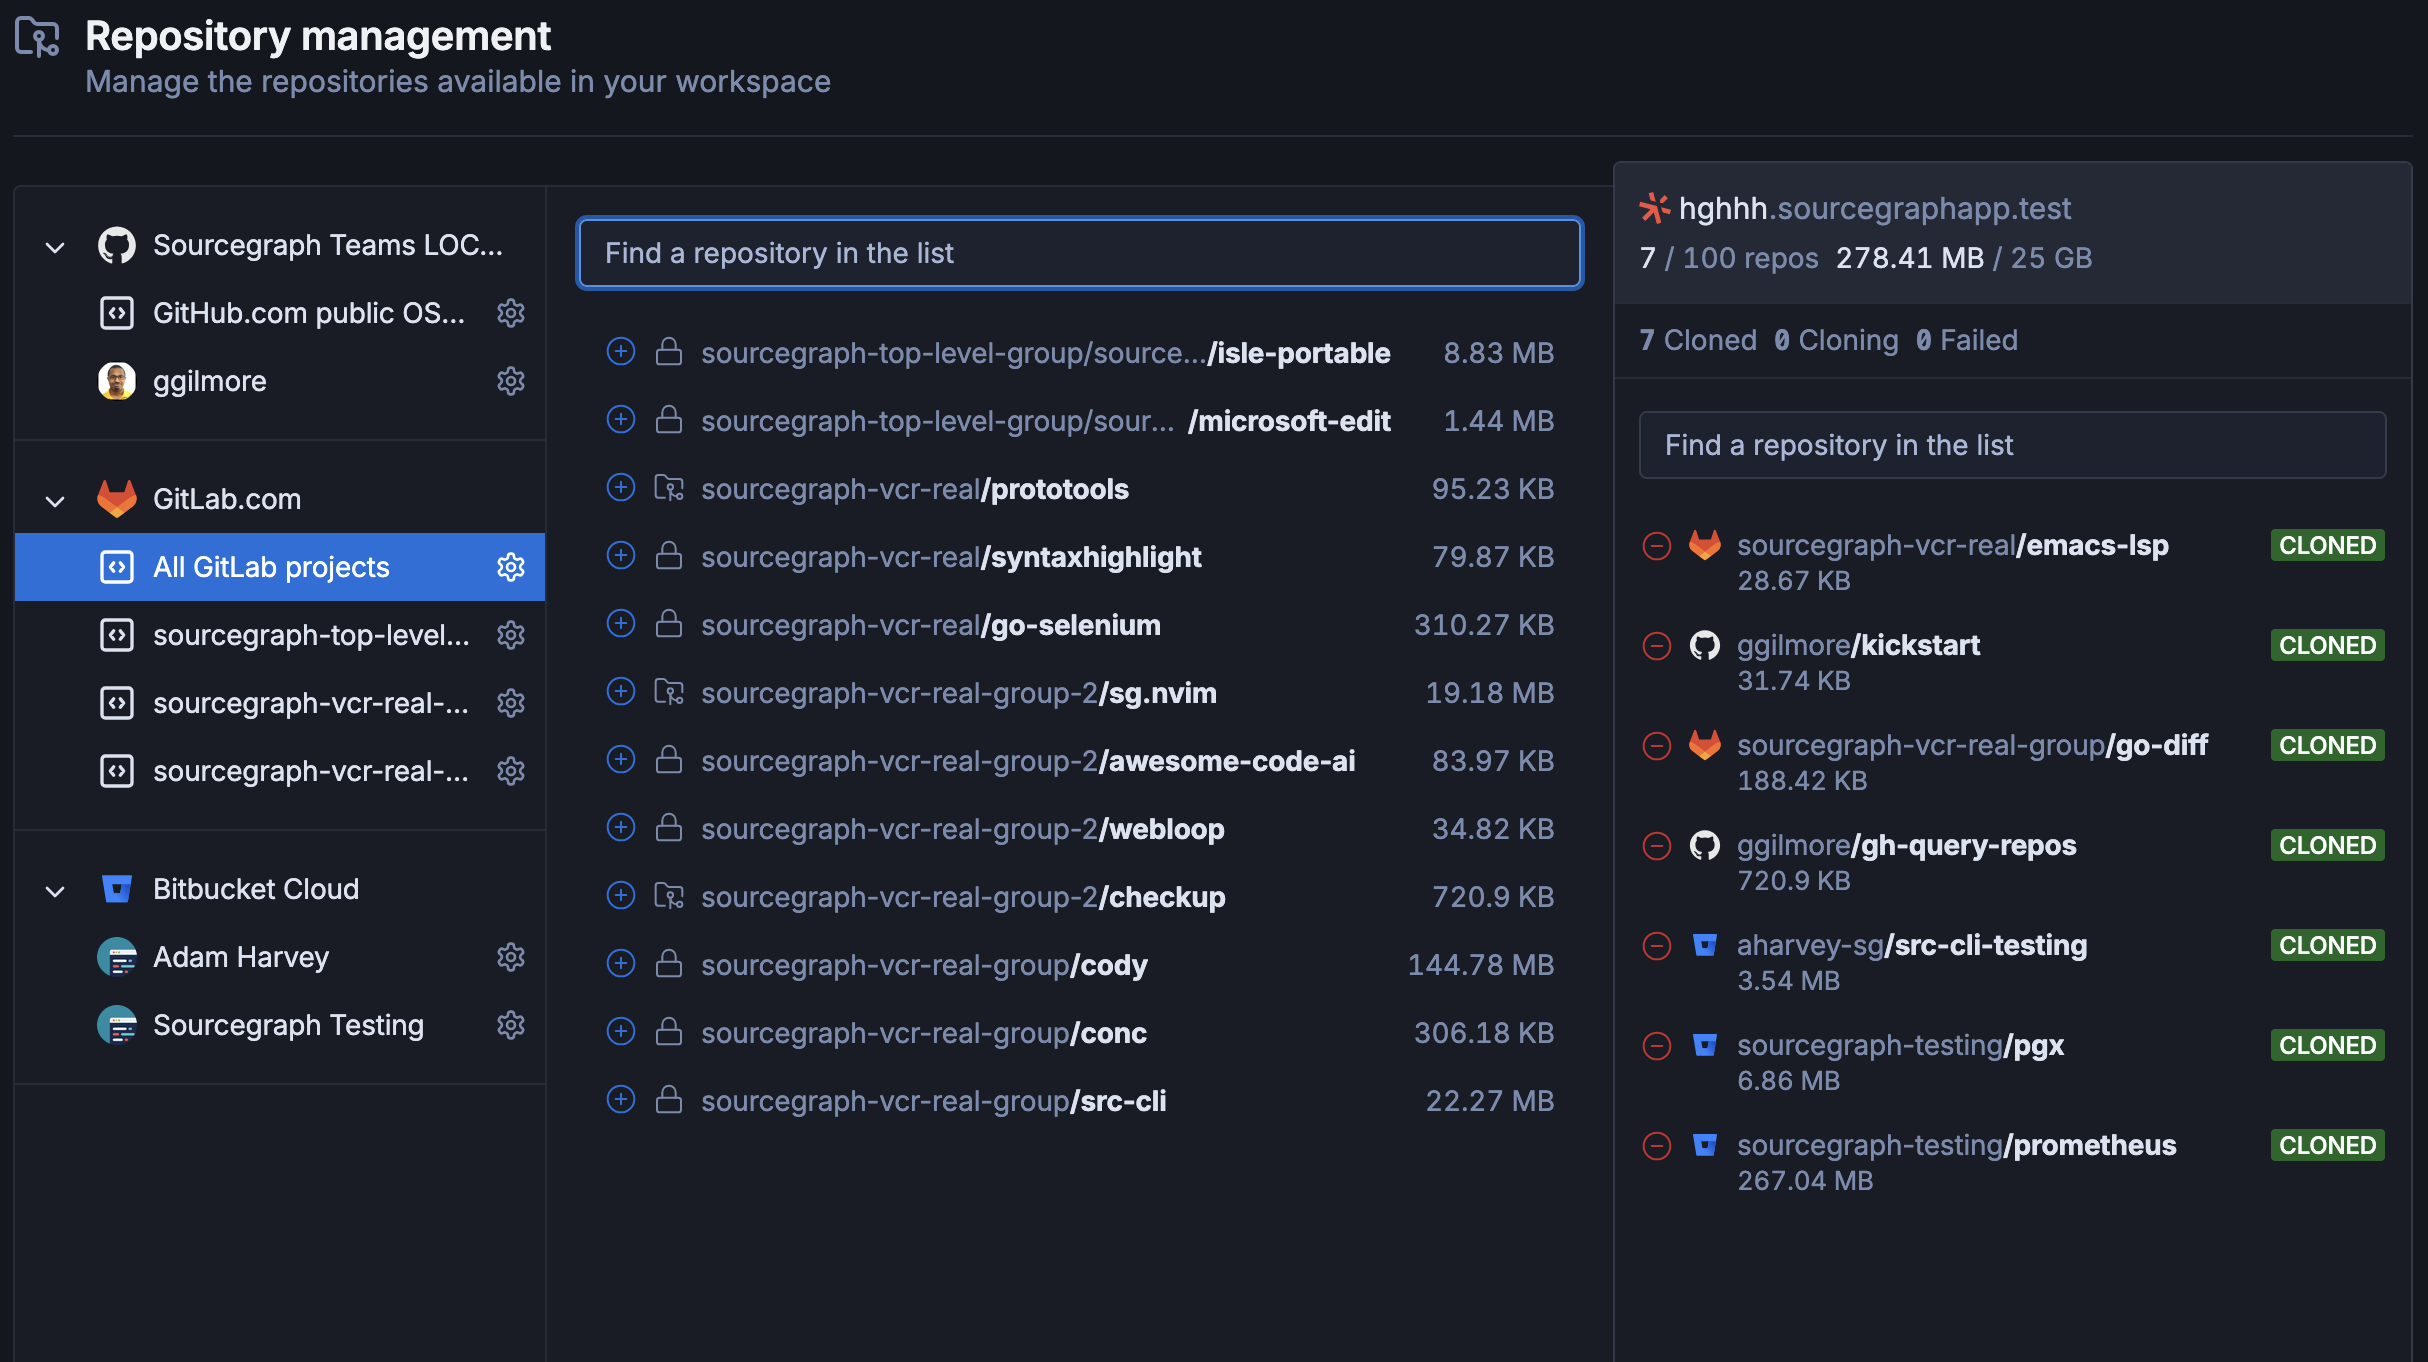
From here, you can:
- Use the public code search to add and index open source repos in your workspace
- Add multiple organizations to index private repos
When you add a new organization, you must authorize access and permission for all repositories or selected ones. To index a repository from your organization,
- Click and select it from the repository list
- Next, from the search bar, type the repo name you are looking for
- Click it to add the repository to your workspace
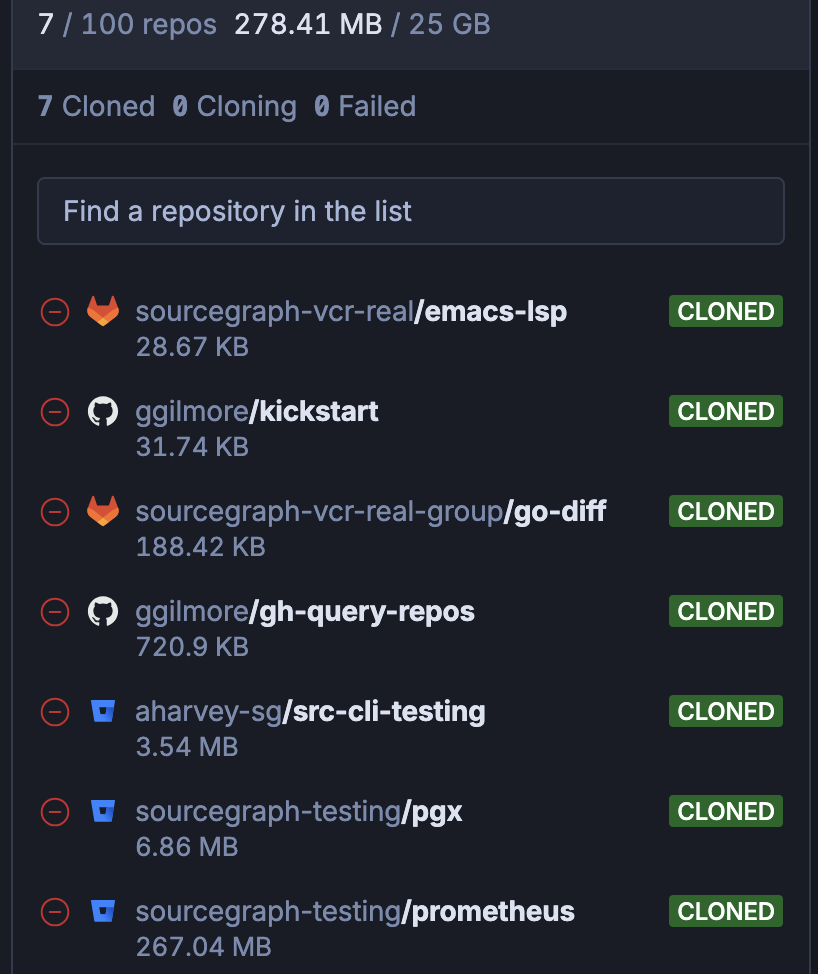
- The status of the repos will change to TO BE ADDED in the right sidebar with a Save Changes button
- Next, the repo gets a QUEUED status, and it takes some time to process
- Finally, it gets indexed with a CLONED status
As you add more repos, you get logs for the number of repos added, storage used, and their status. To remove any repo from your workspace, click the repo name that changes the repo status TO BE REMOVED. Click the Save Changes button to confirm it.
FAQ
What are the limits of the Enterprise starter plan?
Limits applied to Enterprise Starter workspaces are outlined here.
How do I cancel subscription renewal?
In the Workspace settings > Billing page, you can cancel the subscription and continue having access to your workspace until the end of your current billing period (that is indicated in the UI).
How do I cancel subscription and delete my workspace immediately?
On the Workspace settings > General settings page, you can delete your workspace. This will immediately remove access and cancel your subscription.
How are subscription renewal dates determined?
Your subscription renewals are scheduled to happen on the same day of the month. On shorter months (e.g., day 31 on April, which only has 30 days), the last day of the month will be the subscription renewal day instead.
How do I access my invoices?
You can access your invoices via the Workspace settings > Billing page by clicking the View invoices button, which takes you to the Stripe Customer Portal. Note that invoices are not emailed every month.
How do I pay my invoice if my subscription is past due?
After updating or resolving your payment method issue that occurred during the automatic subscription renewal, you may do one of the following to pay the invoice for your past-due subscription:
- Wait for our system to re-attempt the charge for the invoice. It usually takes up to 24 hours. If it does not happen after 24 hours, please contact Support to resolve the issue.
- In the Workspace settings > Billing page, click the View invoices button, which takes you to the Stripe Customer Portal. Then, pay the invoice there. Our system will reconcile your payment within 24 hours. If it does not reconcile after 24 hours, please contact Support to resolve the issue.
- Contact Support to request re-attempt the charge for the invoice using the payment method on file.
Are there any refunds for the subscription?
We don't offer refunds, but if you have any queries regarding the Enterprise Starter, please write to [email protected], and we'll help resolve the issue.