Installing Cody in VS Code
Learn how to use Cody and its features with the VS Code editor.
The Cody extension by Sourcegraph enhances your coding experience in VS Code by providing intelligent code suggestions, context-aware autocomplete, and advanced code analysis. This guide will walk you through the steps to install and set up Cody within your VS Code environment.
Prerequisites
- You have the latest version of VS Code installed
- A Sourcegraph Enterprise account with Cody enabled
Install the VS Code extension
You can install Cody extension directly from the VS Code marketplace or by following these steps directly within VS Code:
- Open VS Code editor on your local machine
- Click the Extensions icon in the Activity Bar on the side of VS Code, or use the keyboard shortcut
Cmd+Shift+X(macOS) orCtrl+Shift+X(Windows/Linux) - Type Cody AI in the search bar and click the Install button
- After installing, you may be prompted to reload VS Code to activate the extension

Alternatively, you can also download and install the extension from the VS Code Marketplace directly.
Connect the extension to Sourcegraph
After a successful installation, the Cody icon appears in the Activity sidebar.
If you are using an older version of Cody, uninstall it and reload VS Code. It's always recommended to install the latest version before proceeding to the next steps.
Sourcegraph Enterprise users should connect Cody to their Enterprise instance by clicking Sign In to Your Enterprise Instance.
You'll be prompted to choose how to sign-in, Enter the URL of your Enterprise instance. If you are unsure, please contact your administrator.
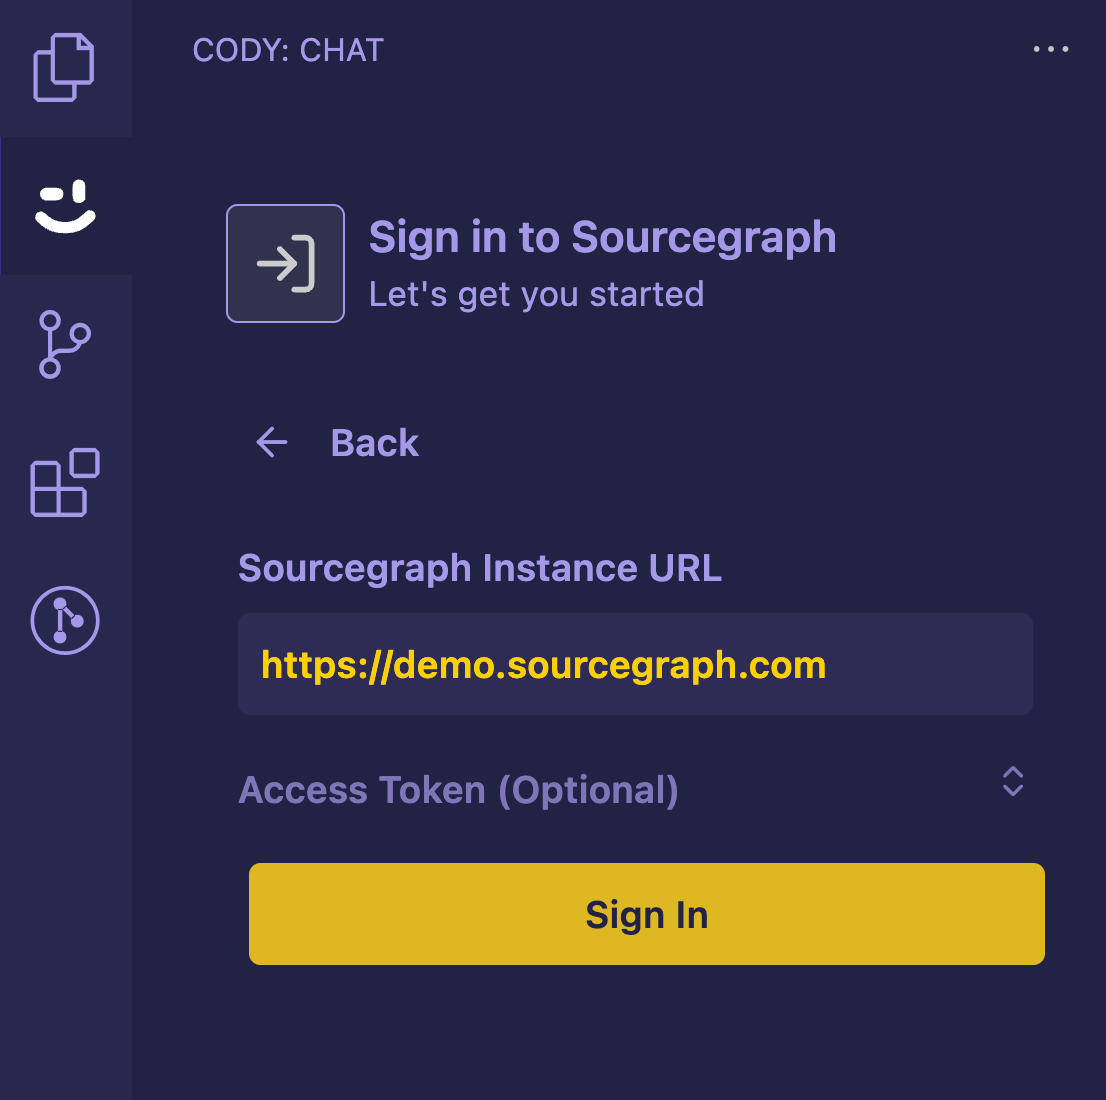
A pop-up will ask if you want to Open the URL in a new window. Click Open to open the URL in a new window. Next, sign in to your instance. If you do not yet have a login, please contact your administrator.
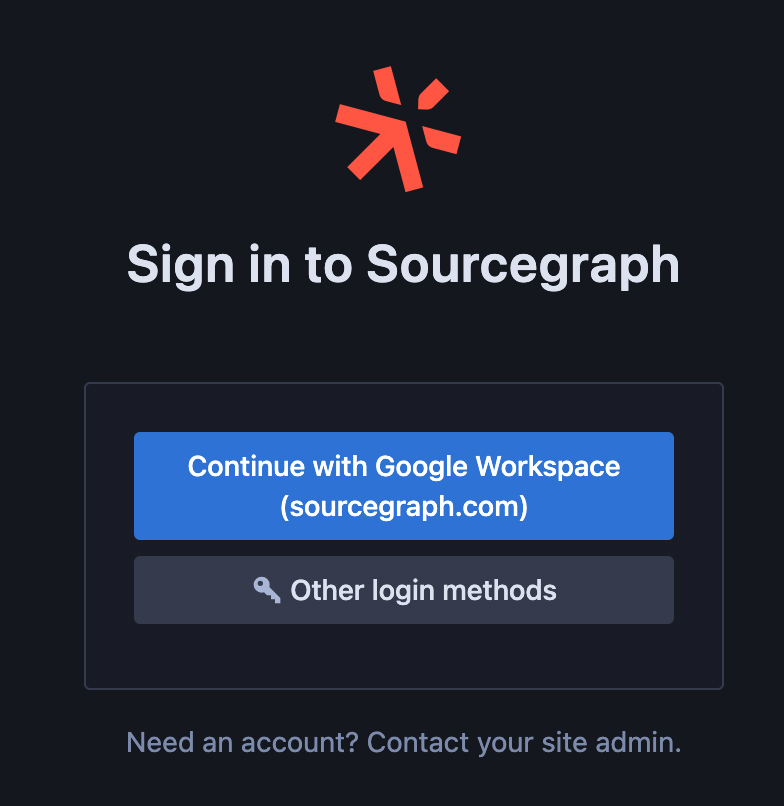
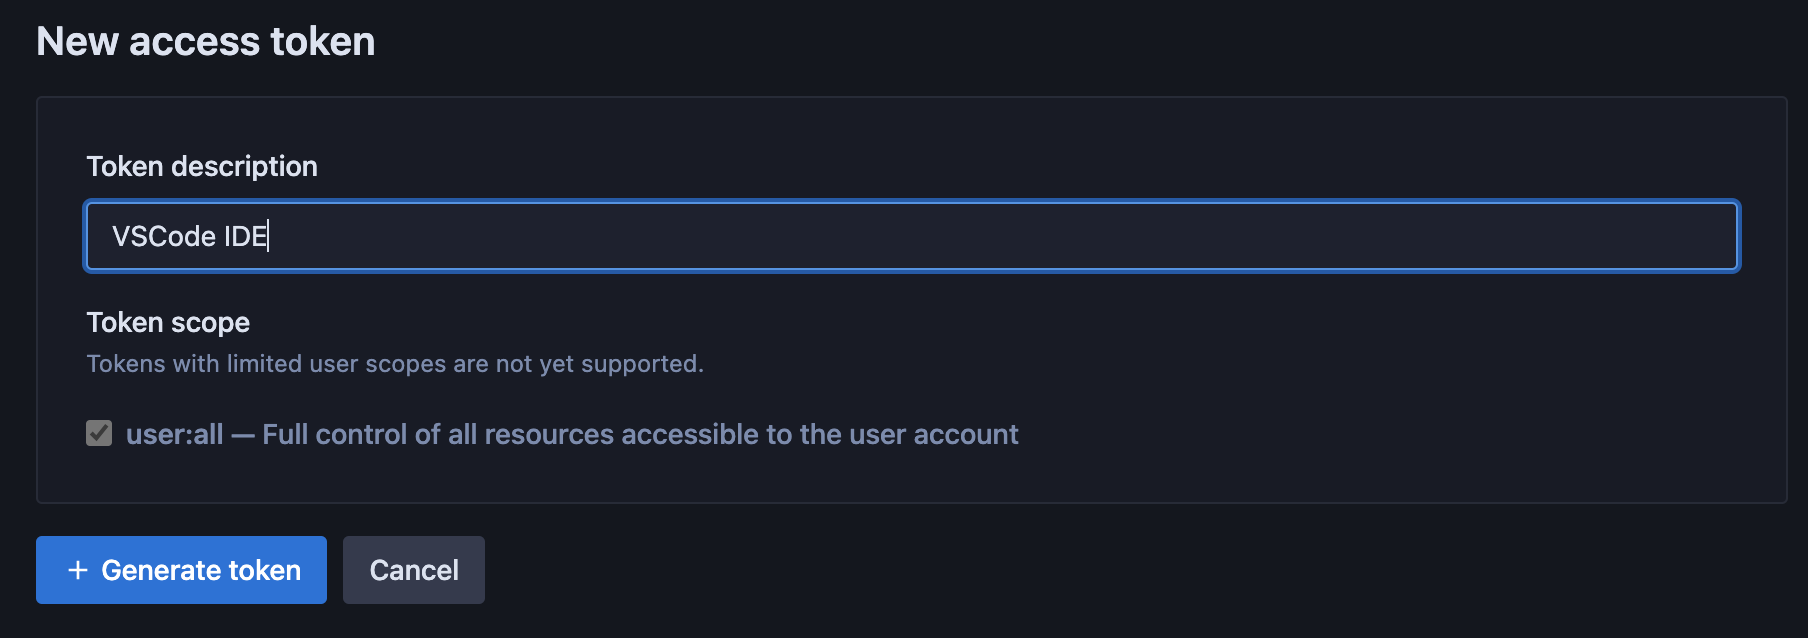
Create an access token from Account Settings - Access Tokens. Click + Generate new token

Name the token and click + Generate token.
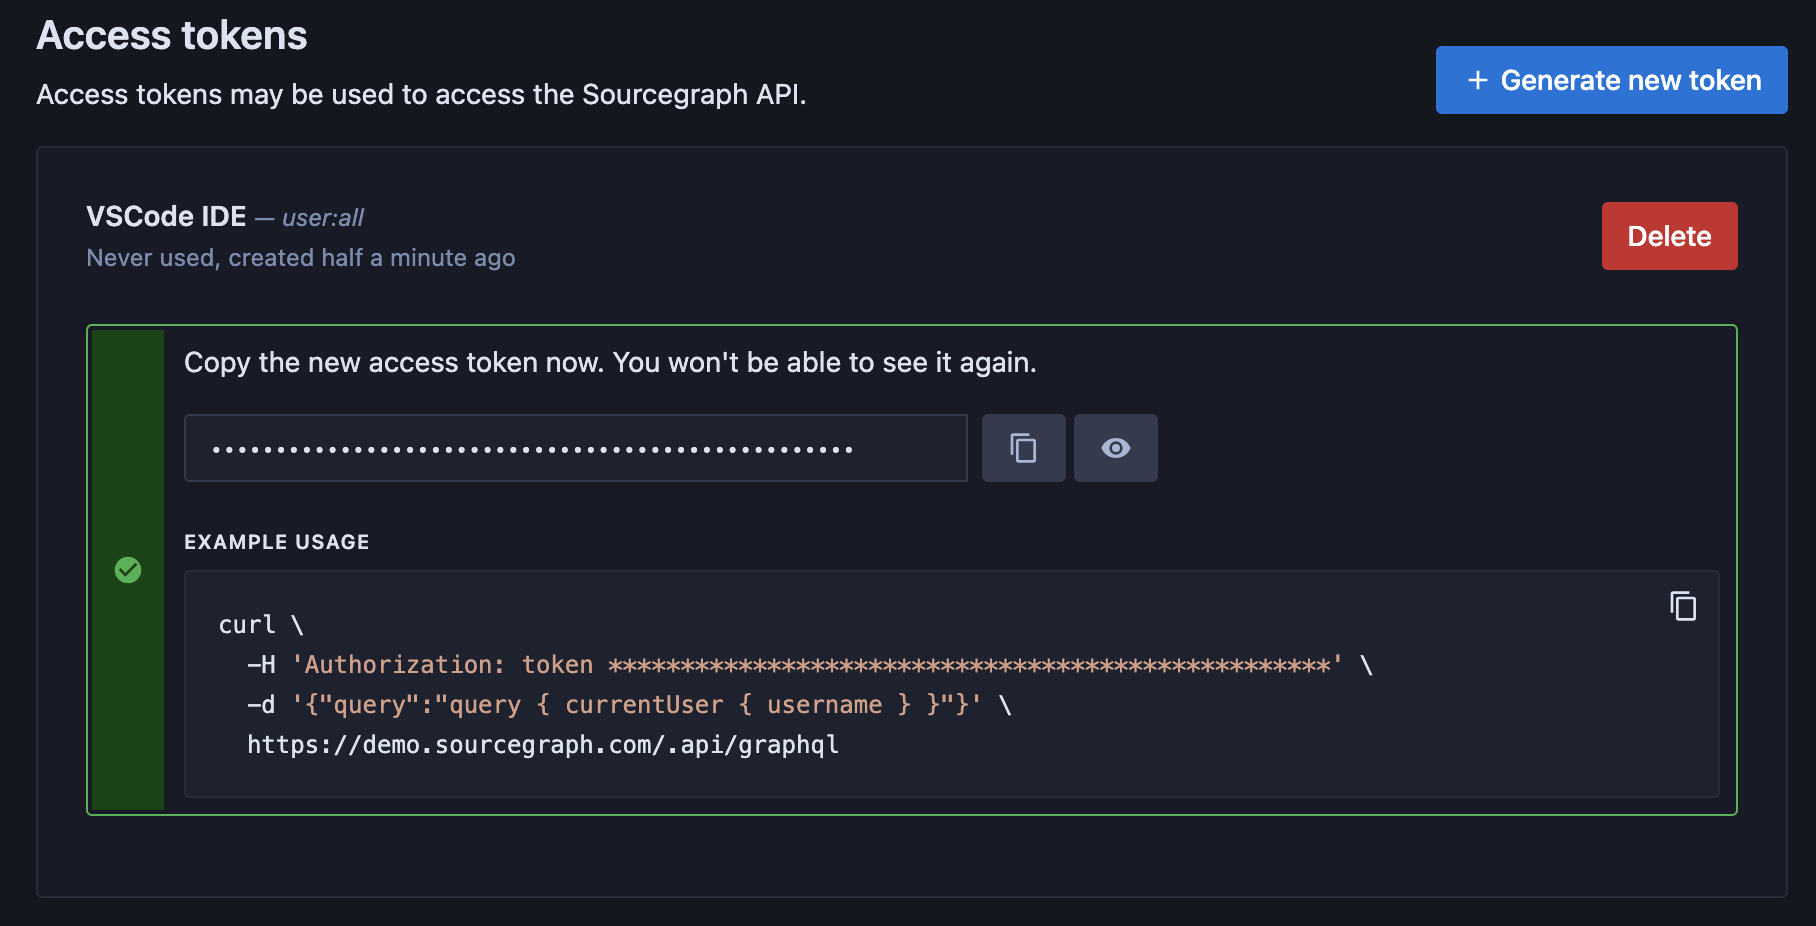
Copy the token and return to VS Code.
Again, click Sign In to Your Enterprise Instance and choose Sign In to Sourcegraph Instances v5.1 and above. Enter the URL of your instance.
You should now be prompted to authorize Sourcegraph to connect to your VS Code extension using the token you created. Click Authorize. Finally, you will be asked to allow the extension access. CLick Open. VS Code should now display the Cody panel and you're ready to go.
Verifying the installation
Once connected, click the Cody icon from the sidebar again. The Cody extension will open in a configurable side panel.
Let's create an autocomplete suggestion to verify that the Cody extension has been successfully installed and is working as expected.
Cody provides intelligent code suggestions and context-aware autocompletions for numerous programming languages like JavaScript, Python, TypeScript, Go, etc.
- Create a new file in VS Code, for example,
code.js - Next, type the following algorithm function to sort an array of numbers
JSfunction bubbleSort(array) {}
- As you start typing, Cody will automatically provide suggestions and context-aware completions based on your coding patterns and the code context
- These autocomplete suggestions appear as grayed text. To accept the suggestion, press the
Tabkey
Chat
Cody chat in VS Code is available in a unified interface opened right next to your code. Once connected to Sourcegraph, a new chat input field is opened with a default @-mention context chips.
All your previous and existing chats are stored for later use and can be accessed via the History icon from the top menu. You can download them to share or use later in a .json file or delete them altogether.
Chat interface
The chat interface is designed intuitively. Your very first chat input lives at the top of the panel, and the first message in any chat log will stay pinned to the top of the chat. After your first message, the chat input window moves to the bottom of the sidebar.
Since your first message to Cody anchors the conversation, you can return to the top chat box anytime, edit your prompt, or re-run it using a different LLM model.
Chat History
A chat history icon at the top of your chat input window allows you to navigate between chats (and search chats) without opening the Cody sidebar.
Changing LLM model for chat
You can view which LLMs you have access to on our supported LLMs page. Enterprise users with the new model configuration can use the LLM selection dropdown to choose a chat model.
For Chat:
- Open chat or toggle between editor and chat (Opt+L/Alt+L)
- Click on the model selector (which by default indicates Claude 3.5 Sonnet)
- See the selection of models and click the model you desire. This model will now be the default model going forward on any new chats
For Edit:
- On any file, select some code and a right-click
- Select Cody->Edit Code (optionally, you can do this with Opt+K/Alt+K)
- Select the default model available
- See the selection of models and click the model you desire. This model will now be the default model going forward on any new edits
Selecting Context with @-mentions
Cody's chat allows you to add files and symbols as context in your messages.
- Type
@-fileand then a filename to include a file as a context - Type
@#and then a symbol name to include the symbol's definition as context. Functions, methods, classes, types, etc., are all symbols
The @-file also supports line numbers to query the context of large files. You can add ranges of large files to your context by @-mentioning a large file and appending a number range to the filename, for example, @filepath/filename:1-10.
When you @-mention files to add to Cody’s context window, the file lookup takes files.exclude, search.exclude, and .gitgnore files into account. This makes the file search faster as a result up to 100ms.
Moreover, when you @-mention files, Cody will track the number of characters in those files against the context window limit of the selected chat model. As you @-mention multiple files, Cody will calculate how many tokens of the context window remain. When the remaining context window size becomes too small, you'll receive File too large errors when attempting to @-mention additional files.
Cody defaults to showing @-mention context chips for all the context it intends to use. When you open a new chat, Cody will show context chips for your current repository and current file (or file selection if you have code highlighted).
Context retrieval
When you start a new Cody chat, the chat input window opens with a default @-mention context chips for all the context it intends to use. This context is based on your current repository and current file (or a file selection if you have code highlighted).

At any point in time, you can edit these context chips or remove them completely if you do not want to use these as context. Any chat without a context chip will instruct Cody to use no codebase context. However, you can always provide an alternate @-mention file or symbols to let Cody use it as a new source of context.
When you have both a repository and files @-mentioned, Cody will search the repository for context while prioritizing the mentioned files.
Rerun prompts with different context
If Cody's answer isn't helpful, you can try asking again with different context:
- Public knowledge only: Cody will not use your own code files as context; it’ll only use knowledge trained into the base model.
- Add context: Provides @-mention context options to improve the response by explicitly including files, symbols, remote repositories, or even web pages (by URL).

Context fetching mechanism and sources
Enterprise users can use the full power of the Sourcegraph search engine as Cody's primary context provider.
Read more about Context fetching mechanism in detail.
You can @-mention files, symbols, and web pages in Cody. It also supports @-mentioning multi-repo context to search context in a broader scope.
Cody Context Filters
Context Filters is available for all Cody Enterprise users running Cody VS
Code extension version >=1.20.0.
Admins on the Sourcegraph Enterprise instance can use the Cody Context Filters to determine which repositories Cody can use as the context in its requests to third-party LLMs. Inside your site configuration, you can define a set of include and exclude rules that will be used to filter the list of repositories Cody can access.
For repos mentioned in the exclude field, prompts are disabled, and you cannot use them for context fetching. If you try running any of these, you'll be prompted with an error message. However, Cody chat will still work, and you can use it to ask questions.
Read more about the Cody Context Filters here →
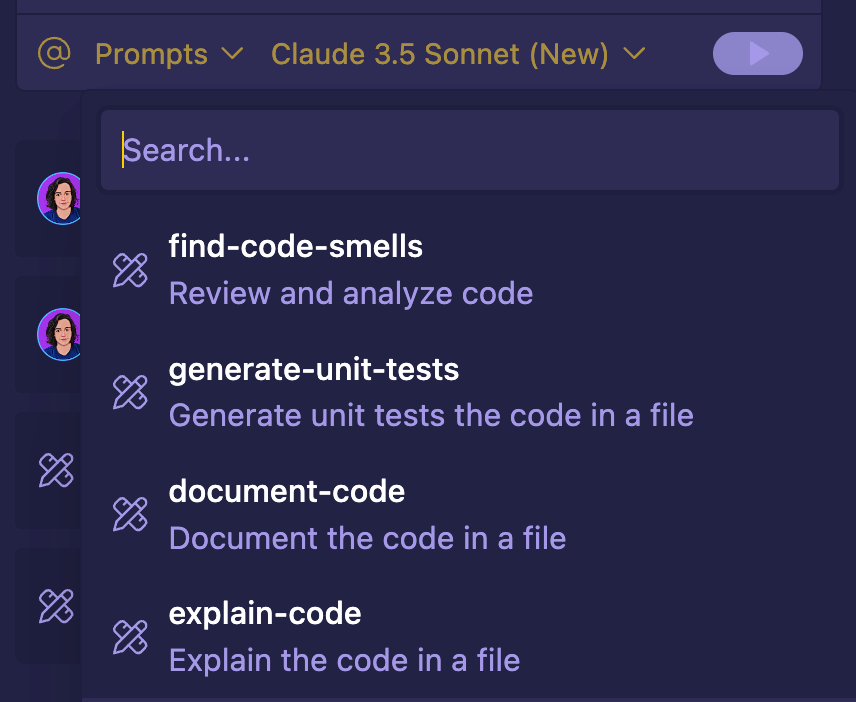
Prompts
Cody allows you create quick, ready-to-use prompts to automate key tasks in your workflow. Prompts are created and saved in the Prompt Library and can be accessed from the Tools > Prompt Library in the top navigation bar in your Sourcegraph instance.
To help you get started, there are a few prompts that are available by default. These can assist you to:
- Document code
- Explain code
- Detect code smells
- Generate unit tests
Smart Apply code suggestions
Cody lets you dynamically insert code from chat into your files with Smart Apply. Every time Cody provides you with a code suggestion, you can click the Apply button. Cody will then analyze your open code file, find where that relevant code should live, and add a diff. For chat messages where Cody provides multiple code suggestions, you can apply each in sequence to go from chat suggestions to written code.
Smart Apply also supports executing commands in the terminal. When you ask Cody a question related to terminal commands, you can execute the suggestion in your terminal by clicking the Execute button in the chat window.

Keyboard shortcuts
Cody provides a set of powerful keyboard shortcuts to streamline your workflow and boost productivity. These shortcuts allow you to quickly access Cody's features without leaving your keyboard.
-
Opt+L(macOS) orAlt+L(Windows/Linux): Toggles between the chat view and the last active text editor. If a chat view doesn't exist, it opens a new one. When used with an active selection in a text editor, it adds the selected code to the chat for context. -
Shift+Opt+L(macOS) orShift+Alt+L(Windows/Linux): Instantly starts a new chat session, perfect for when you want to begin a fresh conversation with Cody. -
Opt+K(macOS) orAlt+K(Windows/Linux): Opens the Edit Code instruction box. This works with either selected code or the code at the cursor position, allowing you to quickly request edits or improvements. -
Opt+C(macOS) orAlt+C(Windows/Linux): Opens the Cody Commands Menu, giving you quick access to a range of Cody's powerful features. -
Cmd+.(macOS) orCtrl+.(Windows/Linux): Opens the Quick Fix menu, which includes options for Cody to edit or generate code based on your current context.
Authenticating Cody with VS Code forks
Cody also works with Cursor, Gitpod, IDX, and other similar VS Code forks. To access VS Code forks like Cursor, select Sign in with URL and access token and generate an access token. Next, copy and paste into the allocated field, using https://sourcegraph.com as the URL.
Supported LLM models
Claude 3.5 Sonnet is the default LLM model for inline edits and prompts. If you've used a different or older LLM model for inline edits before, remember to manually change your model to Claude 3.5 Sonnet. Default model changes only affect new users.
Here's a list of supported LLM models for chat.
Enterprise users get Claude 3.5 Sonnet as the default LLM models without extra cost. Moreover, Enterprise users can use Claude 3.5 models through Cody Gateway, Anthropic BYOK, Amazon Bedrock (limited availability), and GCP Vertex.
For enterprise users on Amazon Bedrock: 3.5 Sonnet is unavailable in
us-west-2 but available in us-east-1. Check the current model
availability on AWS and your customer's instance location before switching.
Provisioned throughput via AWS is not supported for 3.5 Sonnet.
You also get additional capabilities like BYOLLM (Bring Your Own LLM), supporting Single-Tenant and Self Hosted setups for flexible coding environments. Your site administrator determines the LLM, and cannot be changed within the editor. However, Cody Enterprise users when using Sourcegraph Model Provider (Cody Gateway) have the ability to configure custom models from Anthropic, OpenAI, and Google Gemini.
Read more about all the supported LLM models here
Add/remove account
To add/remove an account you can do the following:
- Open Cody by clicking the Cody icon on the left navbar
- On the open sidebar select the Account icon
- Select
Sign Outto remove account orSwitch Accountto login to a different account