Installing Cody in Visual Studio
Learn how to use Cody and its features with the Visual Studio editor.
Cody for Visual Studio is currently in the Experimental stage.
Cody extension for Visual Studio enhances your coding experience by providing intelligent and contextually aware answers to your questions. This guide will walk you through installing and setting Cody within your Visual Studio editor.
Prerequisites
- You have the latest version of Visual Studio installed
- A Sourcegraph Enterprise account with Cody enabled
Install the Visual Studio extension
- Download the Cody extension for Visual Studio from the GitHub repository
- Run the installer and follow the prompts to install the extension
- Once installed, go to the Extensions > Manage Extensions tab in Visual Studio and search for Cody under the Installed list for confirmation
Connect the extension to Sourcegraph
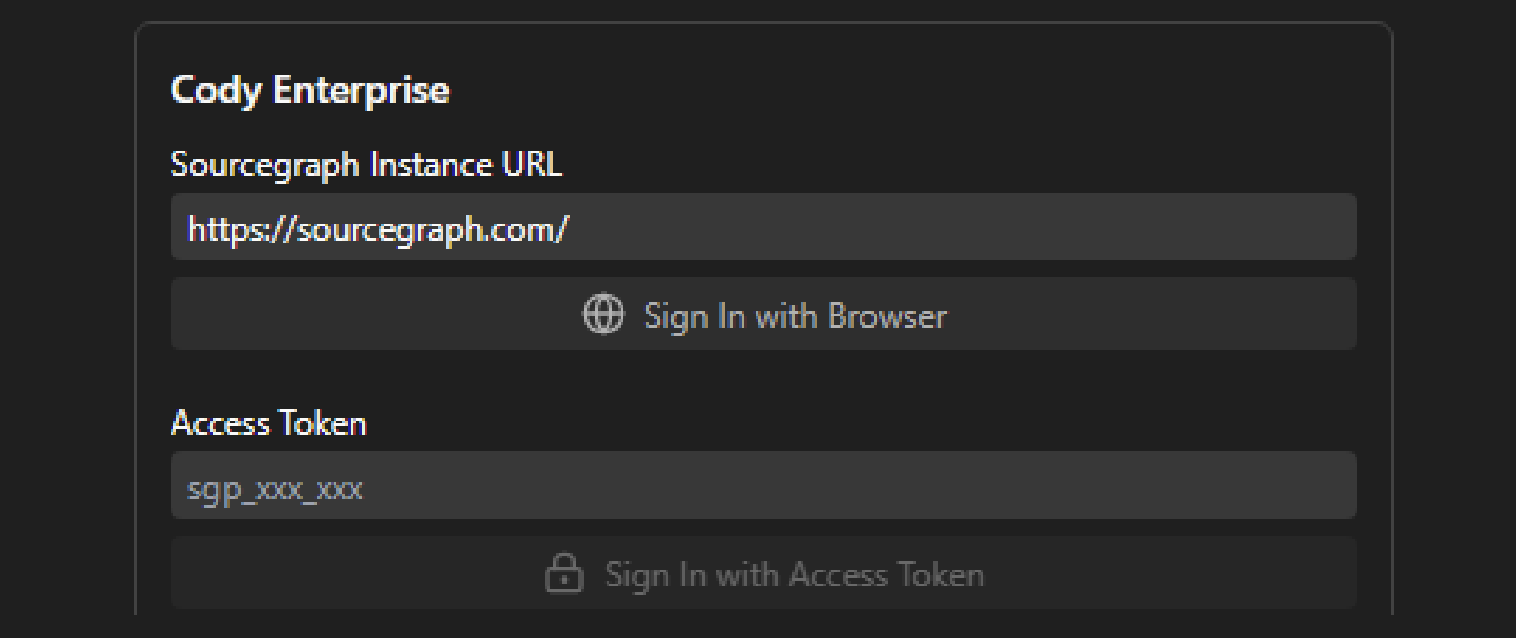
After a successful installation, go to Tools from the main toolbar at the top and click the Cody Chat from the drop-down. This opens the dialog box to connect to your Sourcegraph instance.
Sourcegraph Enterprise users should connect Cody via their Enterprise instance URL and the Access Token.
Complete these steps, and you'll be ready to start using Cody in Visual Studio.

Chat
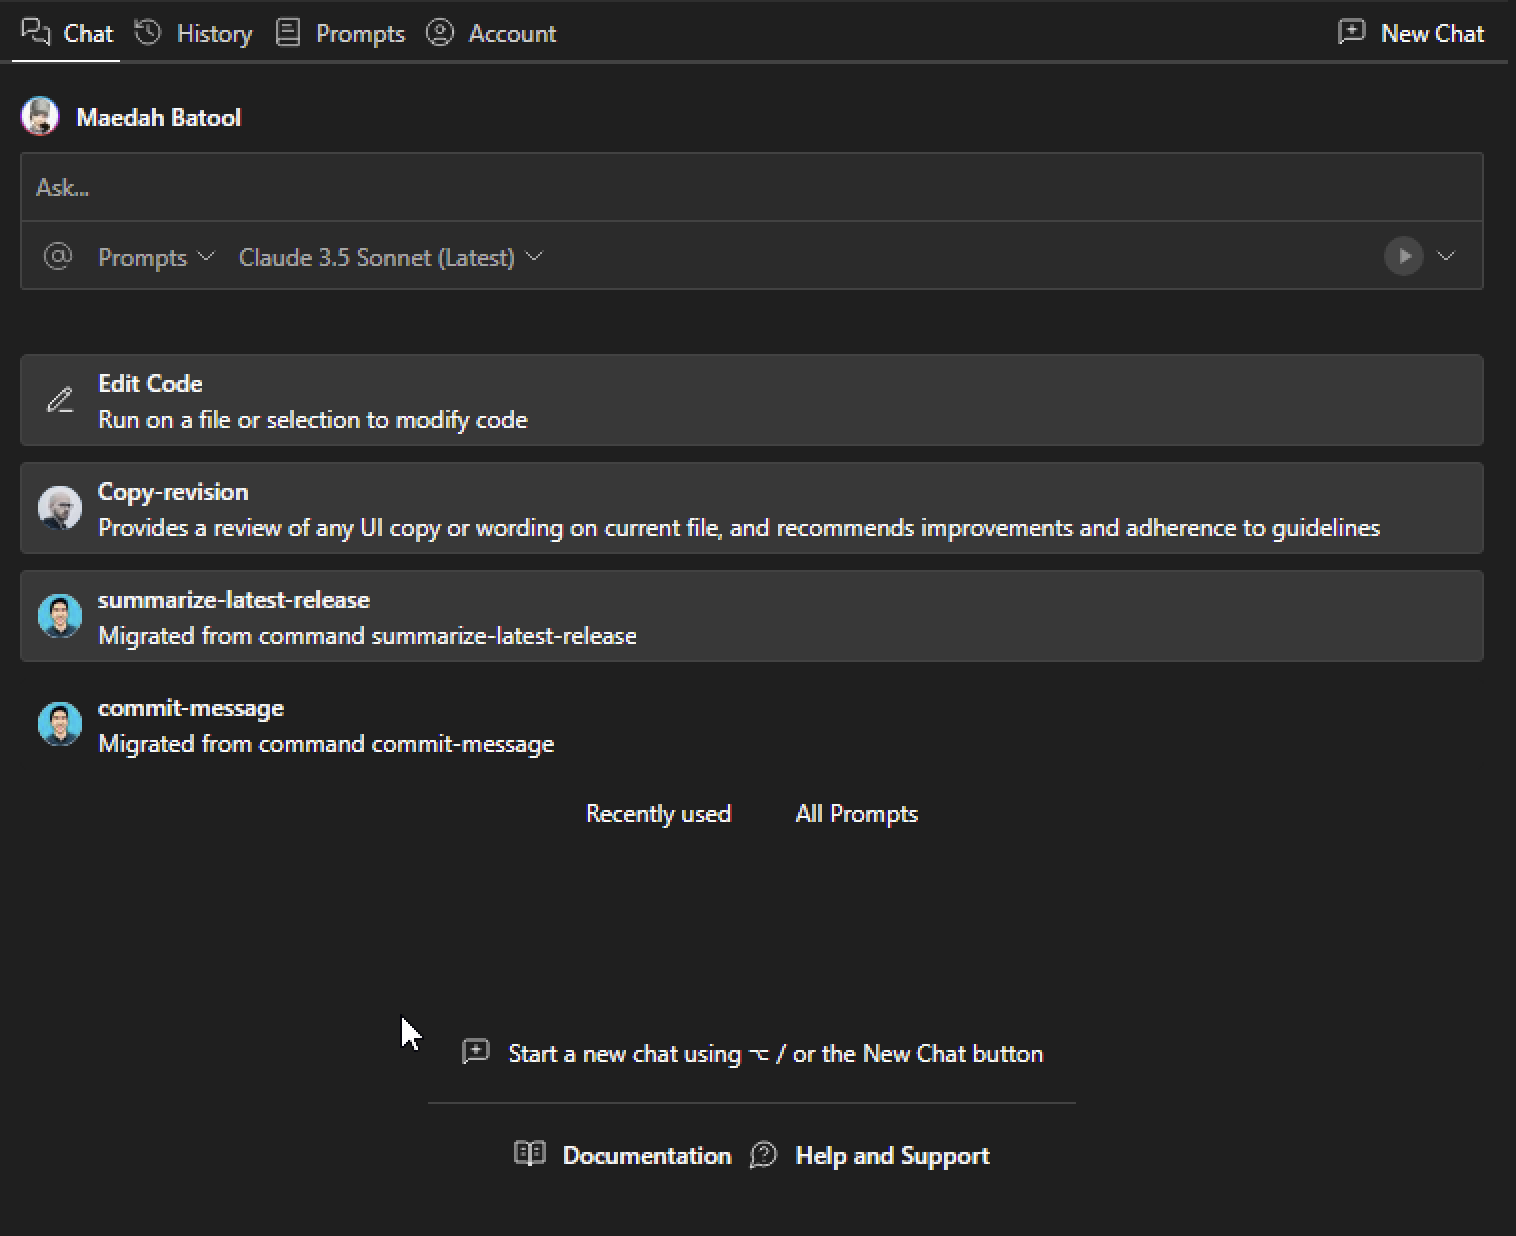
Cody in Visual Studio allows you to ask questions about your code and get contextually aware answers. The chat window is available in a unified interface next to your code. All your previous and existing chats are stored for later use and can be accessed via the History icon from the top menu. You can download them to share or use later in a .json file or delete them.
The chat input field has a default @-mention context chips. These are automatically populated with the names of the files you have open in your editor. There is also a drop-down for LLM selection and a button to run pre-built prompts and commands.

LLM selection
Cody offers a variety of large language models (LLMs) to power your chat experience.You can access the latest base models from Anthropic, OpenAI, Google.
You can read more about it in our Supported LLM models docs.
Selecting Context with @-mentions
Cody's chat allows you to add files and symbols as context in your messages.
- Type
@-fileand then a filename to include a file as a context - Type
@#and then a symbol name to include the symbol's definition as context. Functions, methods, classes, types, etc., are all symbols

Context retrieval
When you start a new Cody chat, the chat input window opens with a default @-mention context chips for all the context it intends to use. This context is based on your current repository and current file (or a file selection if you have code highlighted).
At any point in time, you can edit these context chips or remove them completely if you do not want to use these as context. Any chat without a context chip will instruct Cody to use no codebase context. However, you can always provide an alternate @-mention file or symbols to let Cody use it as a new context source.
When you have both a repository and files @-mentioned, Cody will search the repository for context while prioritizing the mentioned files.
Prompts
Cody allows you create quick, ready-to-use prompts to automate key tasks in your workflow. Prompts are created and saved in the Prompt Library and can be accessed from the Tools > Prompt Library in the top navigation bar in your Sourcegraph instance.
To help you get started, there are a few prompts that are available by default. These can assist you to:
- Document code
- Explain code
- Detect code smells
- Generate unit tests

Smart Apply code suggestions
Cody lets you dynamically insert code from chat into your files with Smart Apply. Every time Cody provides you with a code suggestion, you can click the Apply button. Cody will then analyze your open code file, find where that relevant code should live, and add a diff. For chat messages where Cody provides multiple code suggestions, you can apply each in sequence to go from chat suggestions to written code.
Smart Apply also supports executing commands in the terminal. When you ask Cody a question related to terminal commands, you can execute the suggestion in your terminal by clicking the Execute button in the chat window.

Autocomplete
Cody for Visual Studio supports single and multi-line autocompletions. The autocomplete feature is available in the Cody extension starting in v0.2.0 and requires a Visual Studios version of 17.8+ and above. It's enabled by default, with settings to turn it off.